*When you buy through links on our site, we may earn an affiliate commission at no additional cost to you.
As standing desks continue to prove an effective weapon against sitting for extended periods, more and more office workers who spend a lot of time sitting are using it in their work environment.
However, not many people know how to program their new standing desks, which is crucial for getting the most out of your desk.
Your electric standing desk will enable you to pre-set a comfortable, ergonomic sitting or stand-up height, saving pre-set levels for different users.
Some models even allow you to pre-set your desk’s maximum height and lowest height and change the measuring units.
Our guide below will show you how to program the various aspects of your sit-stand desk to help you use it properly and get the most out of it.
Table of Contents
How to program standing desks
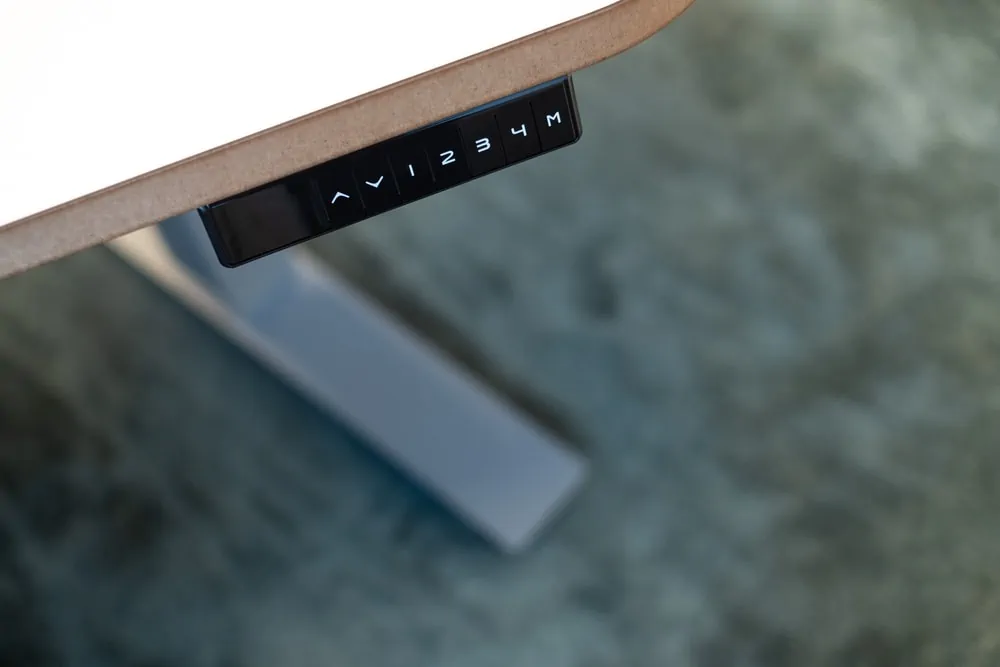
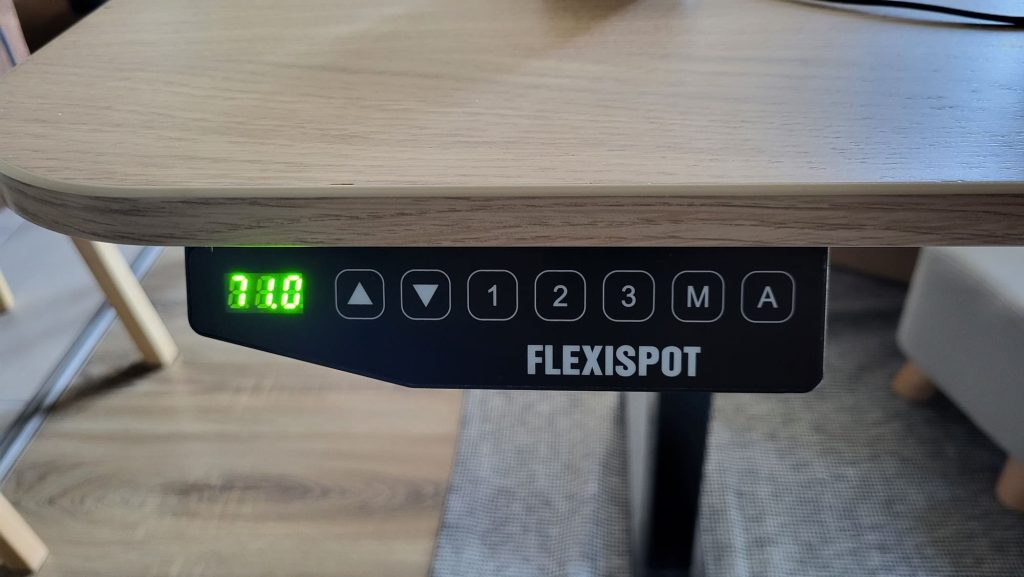
Popular electric stand-up desks eg as the autonomous standing desk models feature a digital system featuring the Menu (M), Up, and Down buttons. Additionally, they feature up to 4 pre-set buttons (usually labeled 1, 2, 3, and 4).

These buttons are clearly labeled and will make programming a standing desk much easy and straightforward for everyone.
Let’s take a closer look at how to set different parameters of your sit-stand desk:
BEFORE performing any programming on your standing desk:
- Always ensure all the cables running to the control box under your desk are firmly plugged in. Ensure the power and motor cable are firmly plugged in as well. The power outlet should also be firmly plugged in, secure, and in the ON position. These measures are important to prevent power loss which causes electric standing desks to not go up.
- Get rid of any obstacles standing on the travel path of your standing desk, both above and underneath it. This will ensure smooth table adjustment, whether you’re bringing it down to the lowest height or taking it to the highest height.
Resetting the control panel:
The first thing you should always do when using a brand new standing desk is reset its digital board. This reset process is also necessary when you want to change or delete any pre-set heights on your desk.
Assuming that your desk is plugged in, here’s how you reset its control board:
Step 1. Press and hold the Down key until your desk reaches its lowest position. Be sure to clear under the desk any obstructions that might stop it from going downward.
Step 2. Once you hit the lowest setting, press the down key again for approx. 10 seconds. Until the desk displays read RST (RESET).
Step 3. Press the Down button once more. Your desk should go down and then up slightly to indicate a successful reset.
Some models will go down and display their highest setting. Other models like the Autonomous will beep thrice. All these are indicators of a successful reset.
Setting an ergonomic standing height:
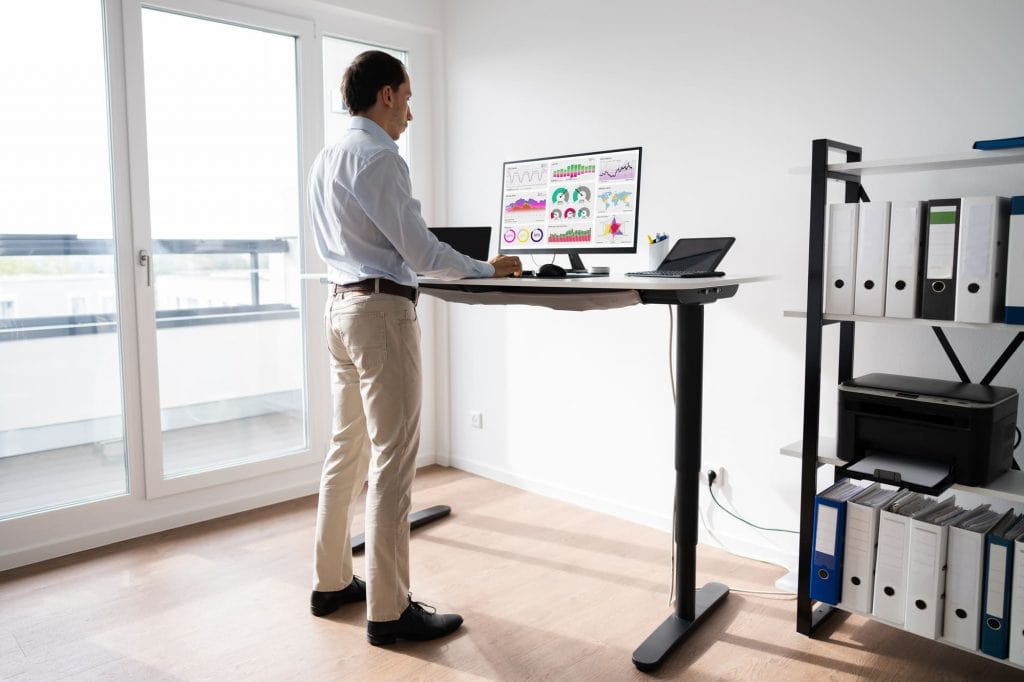
Step 1. Press the Up or Down button to set your desired height. Remember, the perfect height for a standing desk is where your elbows are slightly bent at around 90 degrees, and you can reach your keyboard with your wrists straight and relaxed. Make sure your feet are flat on the floor.
PRO TIP: If you are wearing shoes or stepping on an anti-fatigue mat when using your sit-stand desk, consider the extra inches when programming how high your standing desk goes.
Step 2. Once you reach your ideal level, release the Up or Down arrow
Step 3. Now press and hold the letter M on the control panel. The LED screen will flash, and you can then press any number (1 to 4) to help you save the new setting.
Next time you just need to press the number you choose and the table will go straight to the pre-set height.
Setting height limitations for your adjustable standing desk
Another thing you can do with your electric standing desk is set how high or low it can go (i.e., standing and sitting limitations). In other words, you’re changing the desk’s default high and minimum height settings to your desired range.
These quick steps will guide you into doing this correctly:
Step 1. Press the Up button to take the desktop to your desired max. height. You’ll know when you reach the maximum height since it will be displayed on the digital panel.
Step 2. Once you reach the maximum height, push the M button
Step 3. Now press the Up button again. The control panel should flash once.
Step 4. Hit and hold the M button again until the display reads 999, confirming you have just changed your desk’s maximum height limit.
Step 5. To set the minimum sitting height setting, repeat all the above steps. But this time, press the DOWN button in the place of the Up button.
When you push the M button this time, the display should read 000 to confirm your desk has a new lowest setting, and it won’t go below that.
Have encountered this error message? When your standing desk display shows “ASR”.
How to program sanding desks from different brands:

As you hop between electric standing desks from different brands, you’ll notice that they have slightly varying buttons on their digital panels, which can be confusing.
For instance, Autonomous standing desk and Fully Jarvis have pre-sets saved under numbers 1, 2, 3, and 4, plus an M button. Varidesk units feature 3 pre-sets and an M button.
With this in mind, we always advise you to consult your specific model’s user manual for instructions specific to it. You can also reach out to the customer service team if you get stuck along the way.
Below, we have discussed how to pre-set the standing desks from the most popular brands.
How to pre-set Autonomous standing desk:
1. Press the Up or Down button to take your desk to your desired height
2. Next, hit the M button for a few seconds. The display should start blinking
3. Now click one of the number buttons 1, 2, 3, or 4 on the Autonomous standing desk panel to set your correct desktop level.
How to pre-set Flexispot standing desk:

1. Press and hold the Up or Down button to set the ideal desk height
2. Now press the M button followed by a number 1, 2, 3, or 4 to save the new setting.
How to pre-set Jarvis stand-up desk:
1. Set your desired standing height
2. Hit and hold the Menu (M) button for approx. 5 seconds. The display will show S.
3. The display will then change to “LOC” to indicate the pre-set is successful.
How to pre-set Varidesk ProDesk 48 and ProDesk 60:
The process for pre-setting heights in Varidesk is different from the above models.
1. Set the desk to a suitable level
2. Press and hold the buttons 1, 2, 3, 4, and S. The screen will display L for successful preset heights.
Final Verdict
Programming a standing desk before you start using it will allow you to set it to a perfect sit and stand height for ergonomics.
You also get to save serval preset heights if you use the desk with your workmates or spouse. Not to forget, you can set how high or low you wish your standing desk to go.
The whole process is pretty simple, thanks to the digital panels present on most standing desks that enable you to go up or down with a touch of a button.
Hopefully, this guide has left you in a better position to set the various parameters of your new standing desks. And you should now have an easy time customizing it to match your preferences.


